BEHAVE
Behaviour Extraction by Humans and AI from Video

The infer tool takes a video file, and detects which parts of the video have interesting information on them. It does this using a Object Detector. An Object Detector is an AI (artificial intelligence) model, that takes an image as input, and returns where on the image objects can be found (and with which confidence). The process of running an AI model on some data, is called inference.
The infer tool does this for every frame in the video, and then in the next steps, those frames that don't have any high-confidence detections can be skipped.
How well the interesting information can be detected, depends on the AI model that is chosen. Right now the tool can use models from the YOLO family, one of the main families of Object Detectors.
Using the infer tool can be a bit daunting the first time, because you will have to make some choices on which technologies to use (in addition to choosing the model). This page will guide you through these choices. You will only have to do this only the first time, the page will remember your choices.
When using the infer tool, inference will run 100% on the computer (or laptop) that visits the page. Because of this, your data stays on your computer, and we can offer inference for free, and without any limitation. Inference however is a relatively heavy calculation, and it has to be repeated for every frame in the video. Most laptops in use today will be able to run inference, however how long a run takes depends on your hardware (your laptop), the settings chosen in the infer tool, and the chosen model. There is a page with more detailed information.
Before you start, you need a video file and a model file. You can download one of our models and an example video on the quick start page.
When the infer tool is opened for the first time, it will show that no model is loaded, and show an "add a model" button.
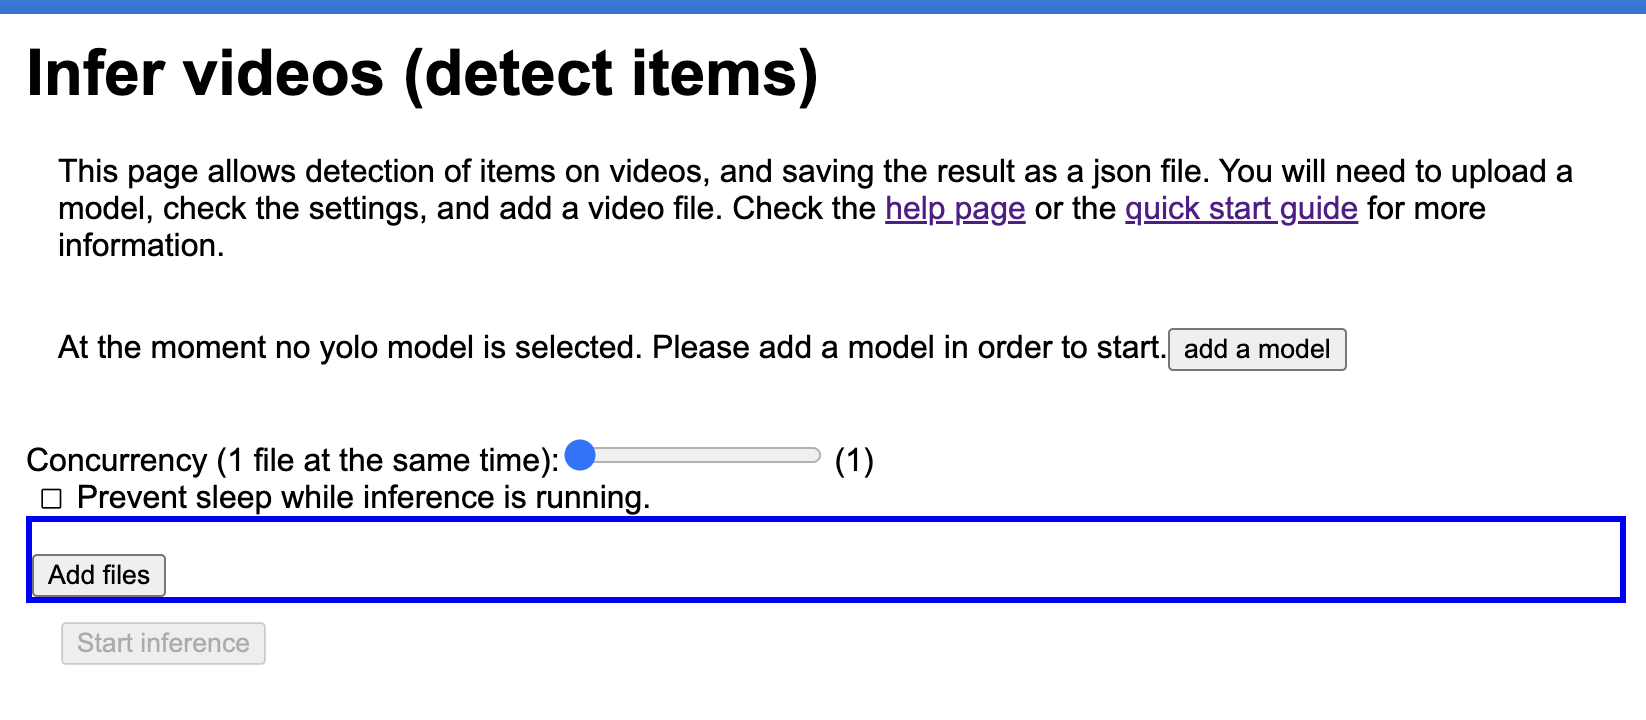
Click "add a model"
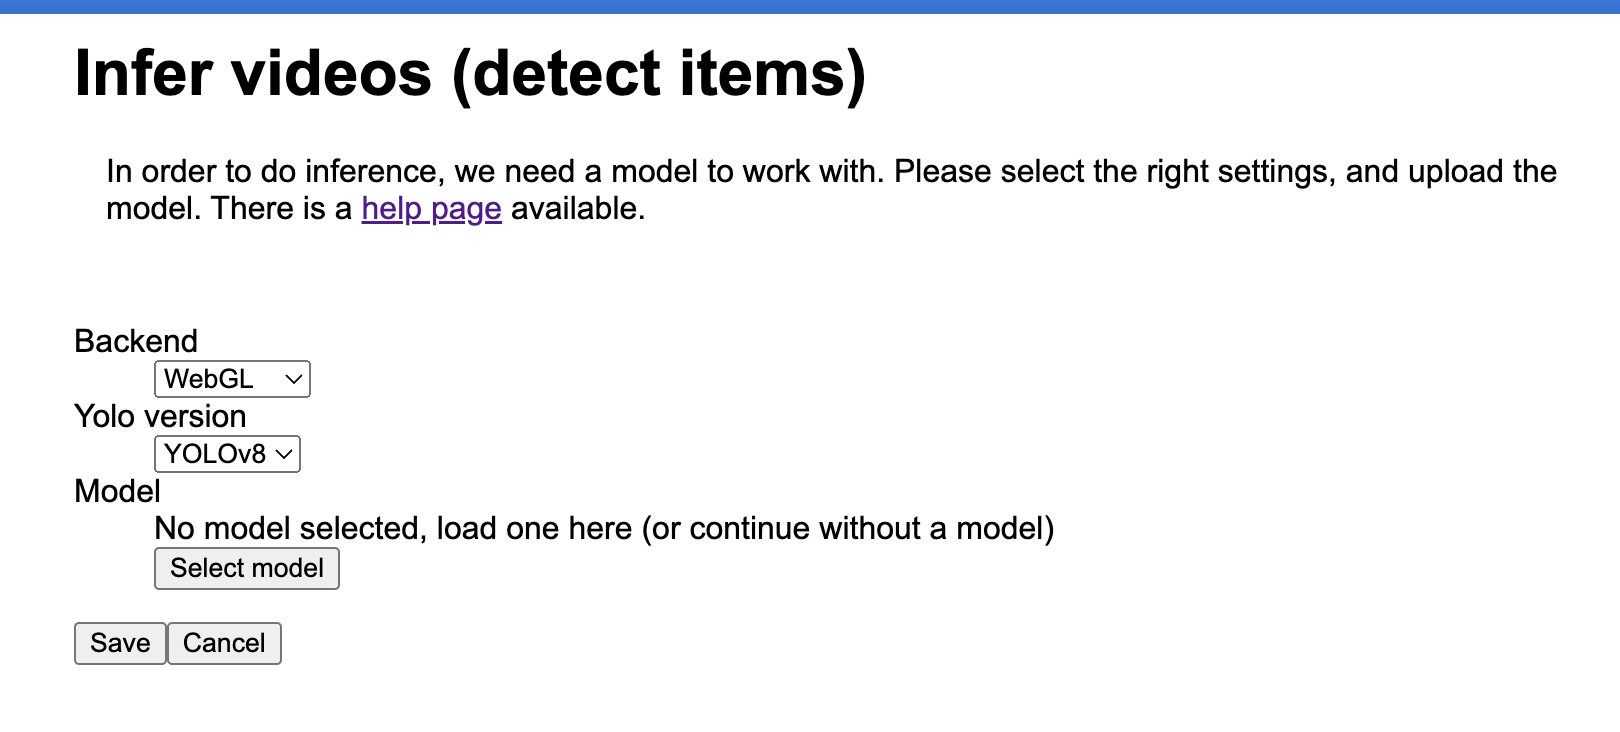
This page offers some choices that are not obvious. We will go through them from bottom to top:
click "Select model" and navigate to the directory containing your model. If you downloaded a zip file with a model, uncompress this file, and point the directory picker to this directory.
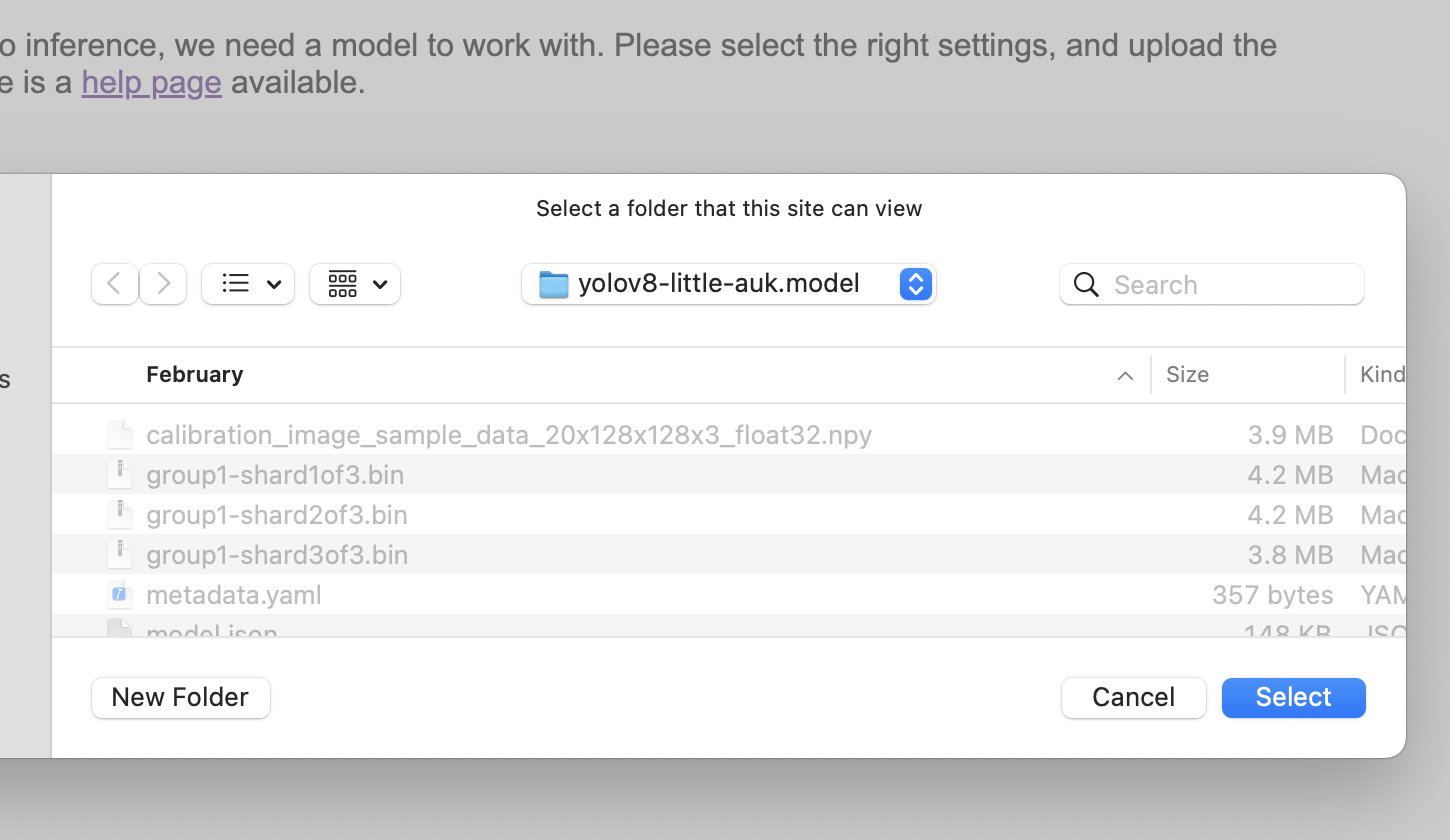
Typically the directory will be called something like "yolo-something.model". If you want to use your own YOLO model, you have to export it to tensorflow-js format. Please contact us if you need help with that.
Note that Chrome may ask for extra confirmation if you're sure that you want to share the contents of this directory with the webpage. This is normal, and "Yes" should be chosen.
for now it needs to be YOLOv5 for the MegaDetectorV5 model, and YOLOv8 for all other models.
This gives three on what technology is used for inference: WASM, WebGL, and WebGPU. Generally WebGPU will be the fastest, WebGL will be second fastest, and WASM will be slowest -- however this is not true on all computers. Not all technologies work on all computers; WASM is most likely to work, WebGL is second most likely and WebGPU is least likely to work.
The advice is to select WebGL first and try if it works. If it does not, you may try WASM, if it does work, you can try WebGPU for even more speed.
After the settings are made, click "save", and the infer page will show that the model is loaded. The model will stay loaded, also after a page reload.
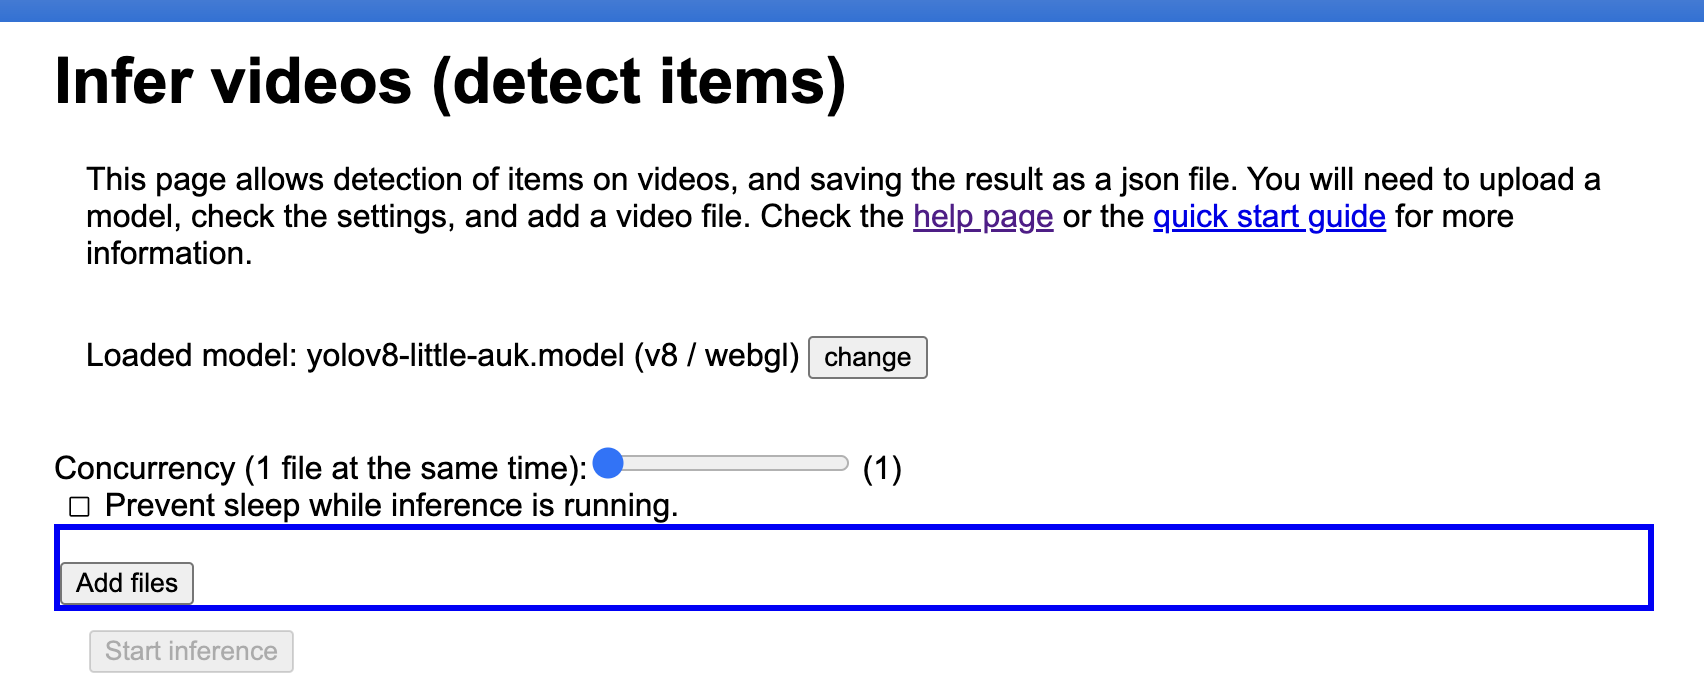
Before adding video files, there are two more settings to deal with:
This defines how many video files will be inferred at the same time. It's safest to leave it at 1. If everything works, one can experiment if things go faster if this is put higher.
If this checkbox is ticked, the computer will not put the screen to sleep (and therefore will not go the sleep itself). This is useful if inference is to run overnight or over the weekend. However be aware that switching on this option also means that your screen is not locked, which may not be desirable.
After all files in the queue are inferred, the option will switch off (and therefore allow the system to go to sleep).
Note that the system will still go to sleep if the laptop lid is closed. Also, note that we do not advice running inference when the laptop is not connected to wall power, since inference needs a lot of power and will drain the battery quickly.
This checkbox may be left unticked if there is another method of making the computer not sleep (usually it's possible in system settings to set up the system so that it does not go to sleep), or if you want the laptop to go to sleep.
If the laptop goes to sleep, inference will continue when the computer wakes up again.
Finally it's time to add video files.
At this moment only .MTS video files are supported; we aim to soon allow MP4 files as well.
If you have another file type, let us know and we can see what is possible.
Video files are added by pressing the "Add files" button, or dragging in files or directories.
If directories are dragged in, the directory structure remains intact.
Note that all non-.MTS files are ignored.
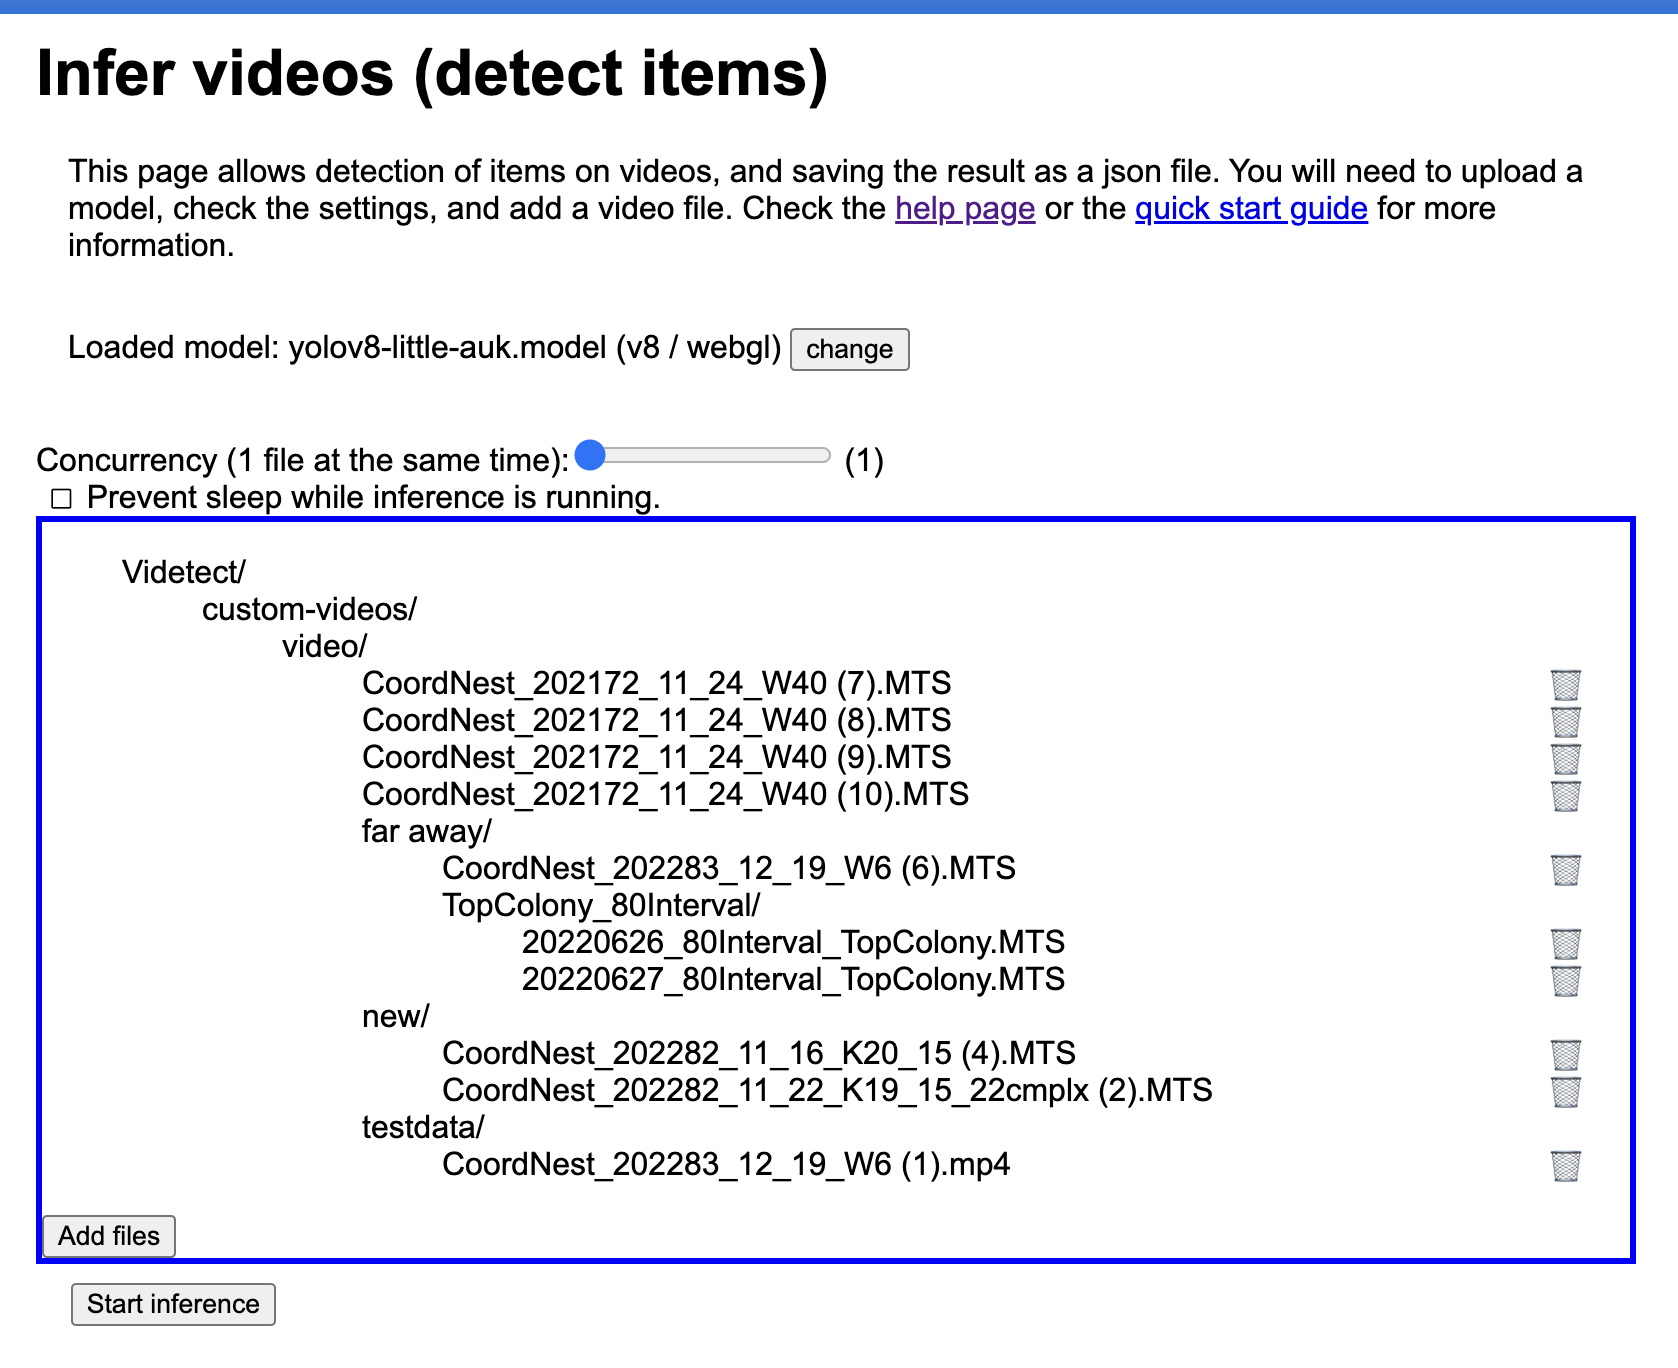
Once the files are added, press "Start inference". The system will now ask for a directory where the tool can save the results. Make a new, empty, directory, and select this.
After that, inference will start. It will show progress bars, and an estimate of how long to go.
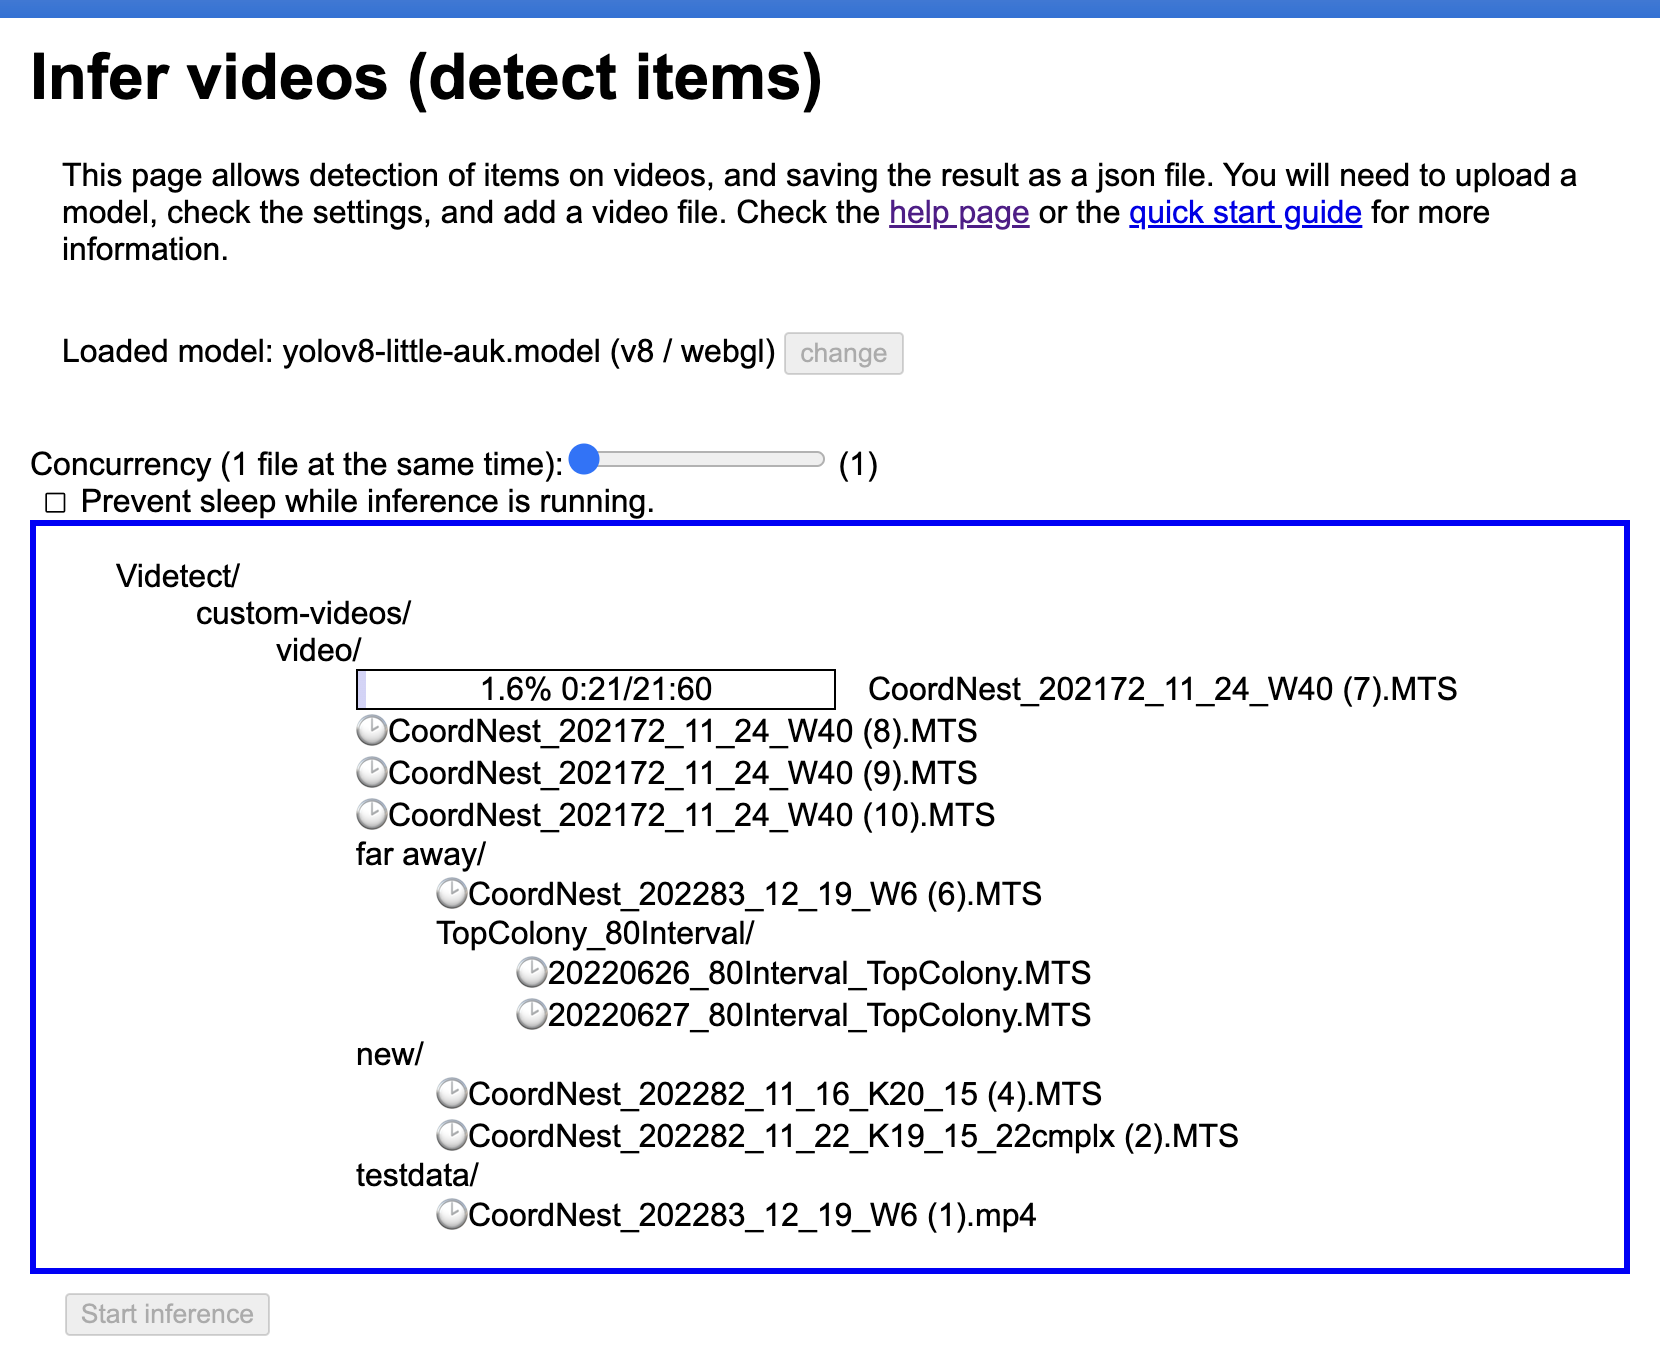
For each video that is inferred, a .behave.det.json file is saved in the location that you gave.
These files contain the information on which objects where found in what frames, and can be used in the next step (BEHAVE UI). The filenames contain a hash to uniquely identify them.